")
")
")
")
3.2 OpenGL preview in Showcontroller
The OpenGL preview is not only helpful for programming, but is also the basis for video export of the show. Video exports can be used to provide the client a preview of the show.
The position of the lasers in the preview are saved to the show file. It can be specified in the global settings whether these show file or the local settings shall be used.
On startup, the preview window looks empty. The title bar shows the timeline position of the timecode and the remaining playback time.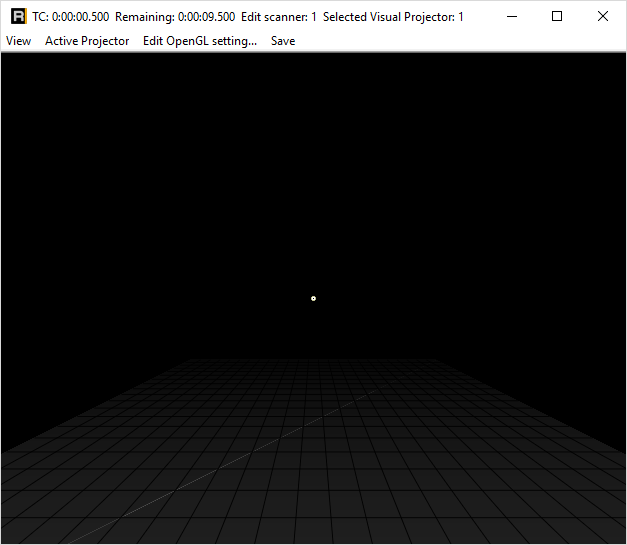
Place a laser frame on the timeline (fastest option is right mouseclick -> "Add from PicBrowser"):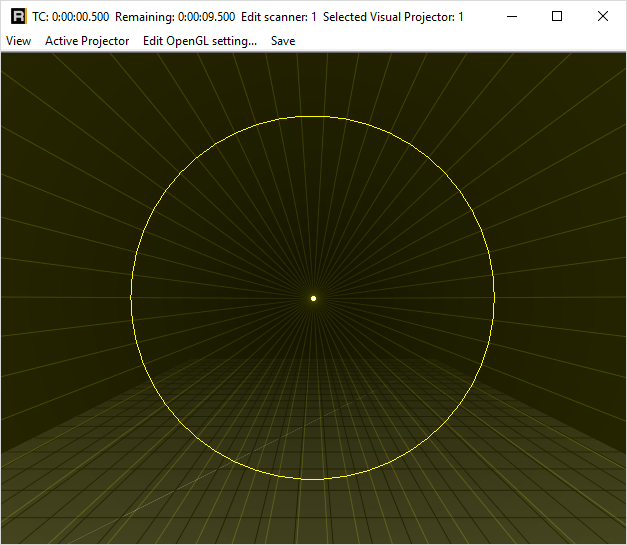
The window can of course be scaled to any size and can also be placed on a second screen. Above picture shows one laser in the center. All 16 possible lasers can be individually placed in the preview window. Richt click on a projector and drag to move it.The window can of course be scaled to any size and can also be placed on a second screen. Above picture shows one laser in the center. All 16 possible lasers can be individually placed in the preview window. Richt click on a projector and drag to move it.This example shows three laser system placed next to each other: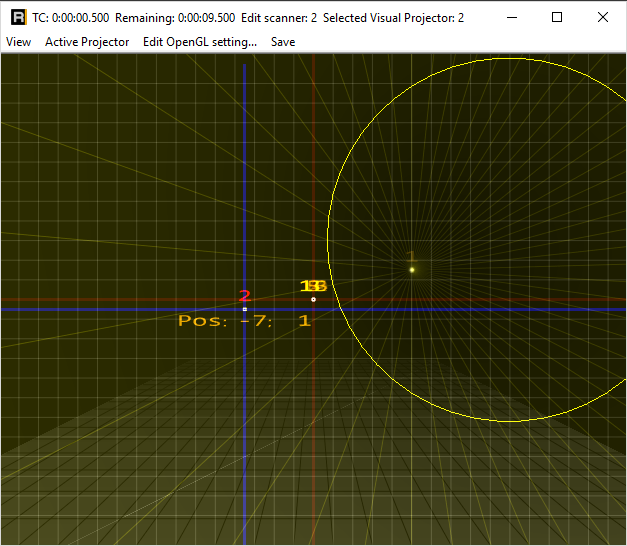
The preview icons in the Toolbar specify which lasers shall be displayed nas beam show preview ![]() and / or graphics show preview
and / or graphics show preview ![]() .
.
The laserframe is still only output to projector 1. Switch to the Control Center. ![]()
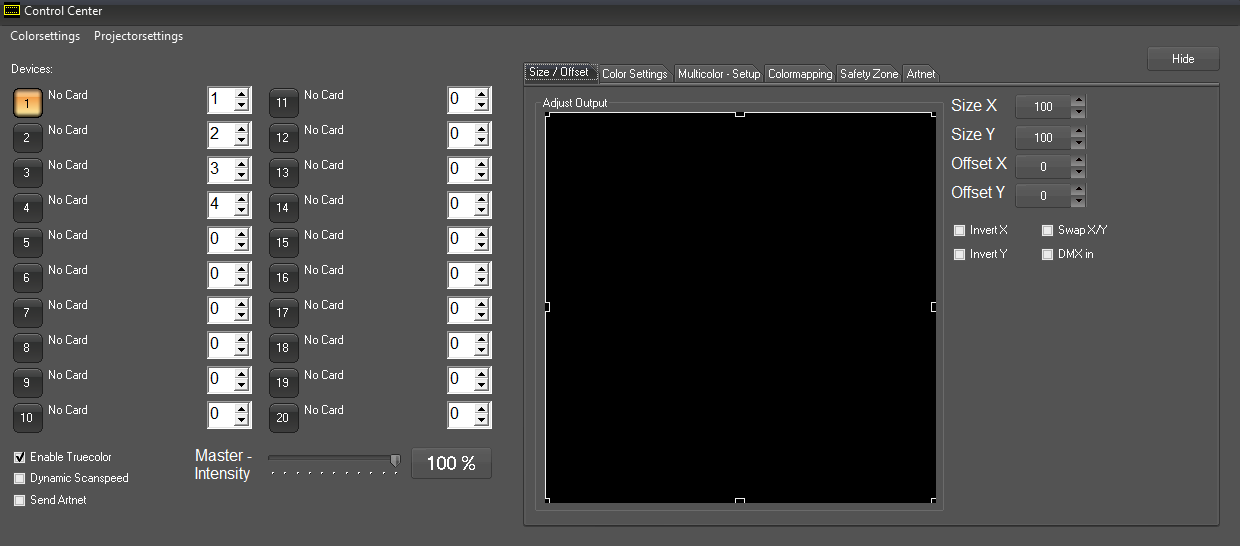
The tracks of the timeline can be assigned to individual output hardware here. In this example there is no hardware connected. It is possible to assign tracks to hardware interfaces by selecting the respective track number for the very hardware.
As an example, track number 1 is routet to three different hardware interfaces: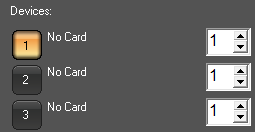
Close the dialog window with click on "hide" to return to the timeline. The preview now shows the frame, that is on Track "E1" on the timeline, on all three projectors. Potentially set X/Y axis inversions are respected in the preview too.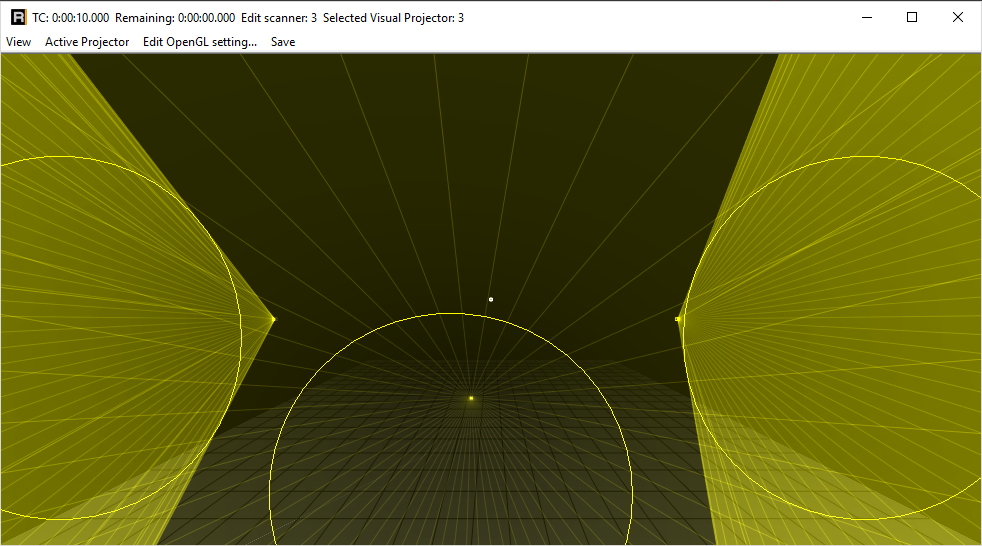
There are further features in the preview window:
- Right click with pressed CTRL key and drag to rotate the projector
- Select a projector and use the scroll wheel to move it on the Z-axis
Different options to reset the preview layout are available in the menu.
The menu "EditOpenGL" allows for setting different display options like laser intensity, line thickness, etc. separately for beam and graphics. The settings are applied on saving.
The "Default.ogl" is automatically loaded on startup.
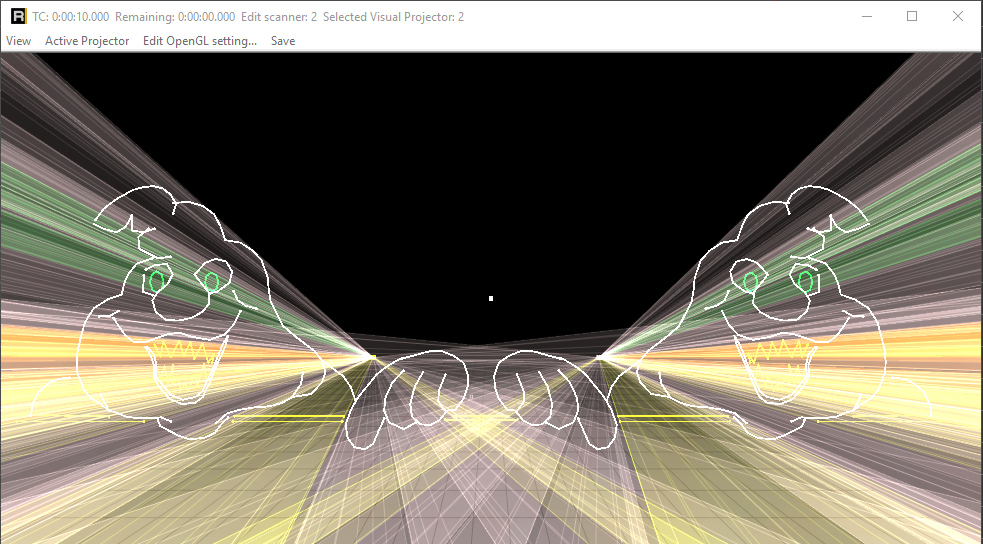
Another example: This is a two scanner show. In this case both satellite projectors have been inverted on the X-axis to create a symmetrical output: