")
")
")
These are some simple steps how to program a laser show with Showcontroller.
Create a new Folder "My Show" e.g. on the Desktop in preparation of the show programming. Copy the sound file to be used to this folder already. It is recommended to use a Wave-File for this, as the playback time can slightly vary depending on the differenr mp3 codecs.
First of all start realTime with an empty project: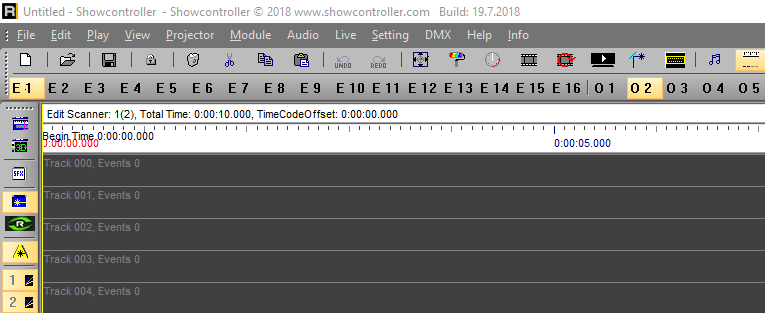
Save the project as "My first show" to the folder "My Show" vial menu "File" -> "Save as.."
The title bar of RealTime changes: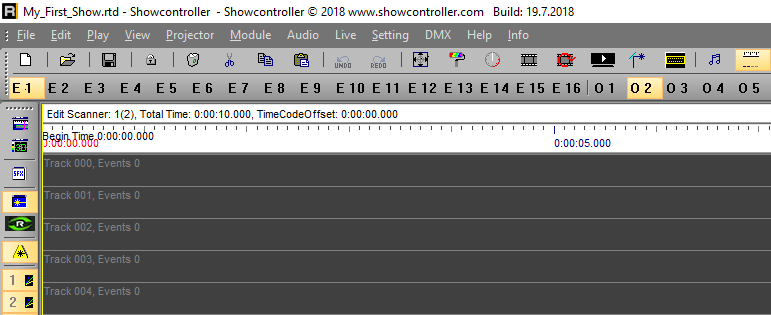
Click the clef in the upper toolbar to add ann audio file. The audio dialog opens: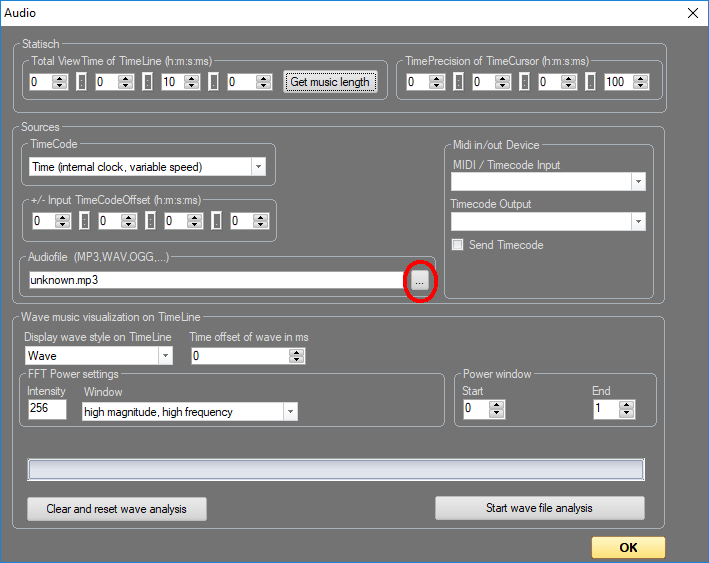
Click on the red marked button to open the windows dialog. Select the audio file in the "My Show" folder. The wave form analysis can be initiated after the audio file has been loaded. Click on the icon  for the wave form analysis. for the wave form analysis. RealTime automatically adapted the duration of the show to mathch the length of the audio file after it has been loaded. As the audio has now been successfully assigned, it's recommended to save the show.
It's time for some show content. Open PicEdit parallel to RealTime: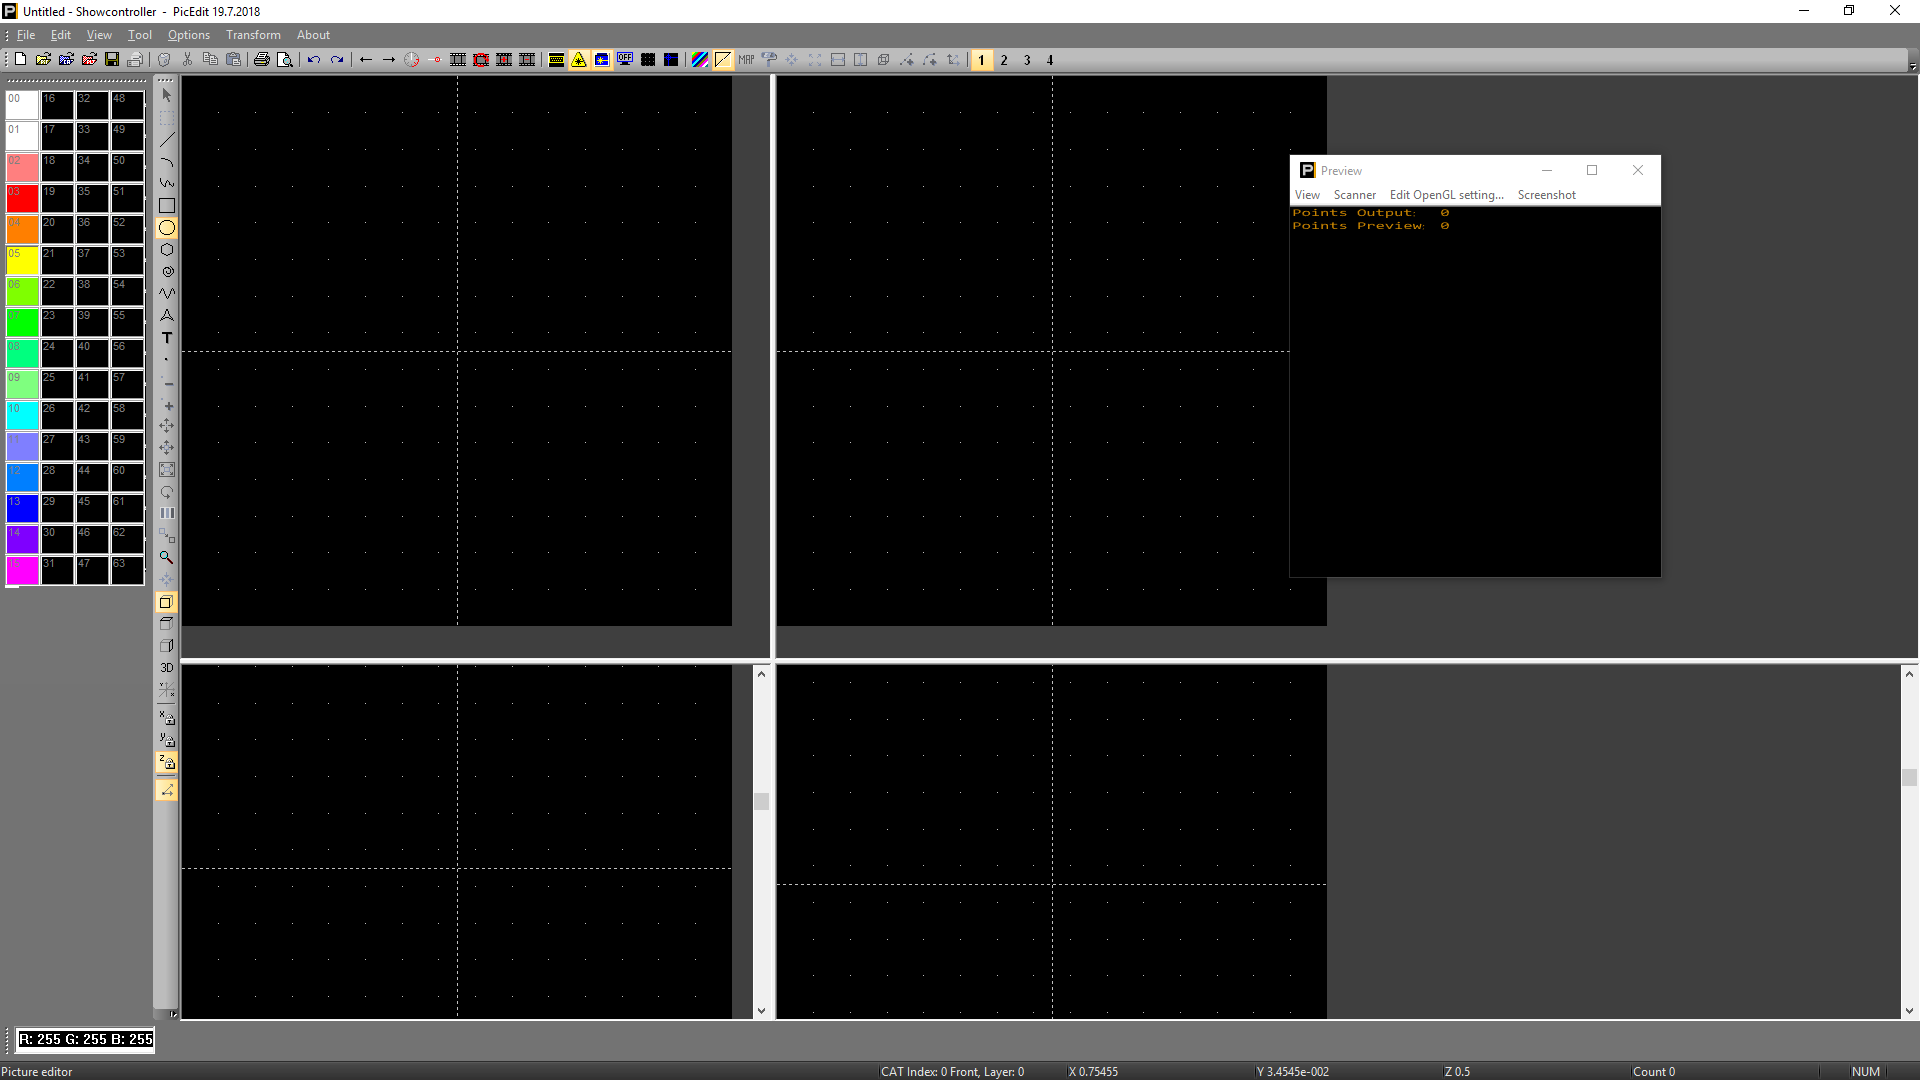
The features of PicEdit are described in detail in 4. Showcontroller PicEdit.
Simple start: select a color to the left, then click the circle icon in the tool bar. Color and tool have been specified. Click to the center of the drawing area with the left mouse button, hold it and drag open the circle:
A click on the icon in the upper toolbar showing an arrow pointing right copies this frame to the temporary buffer. Switch over to RealTime, zoom the starting area of the show with the scroll wheel a bit and place the just drawn frame to the timeline. To do so, right click at an empty space in the timeline and select "Add from Temp".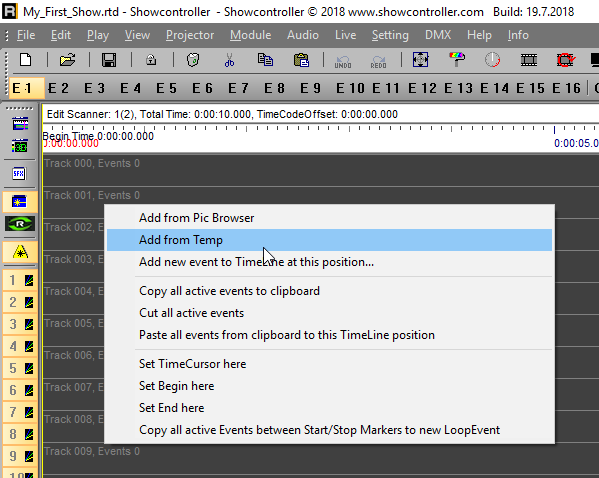
A Trickfilm Event is automatically created and the Pic is loaded from the temporary buffer.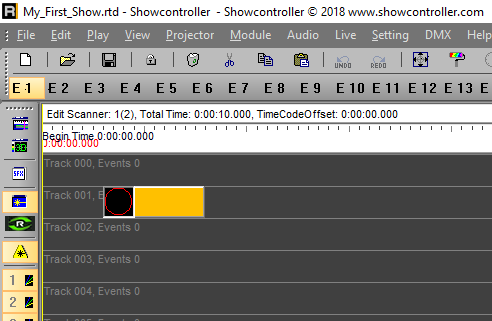
This Trickfilm event can then easily be positioned via drag and drop or adapted in duration. Drag the duration of a length of ca. 8 seconds and click on the preview window icon: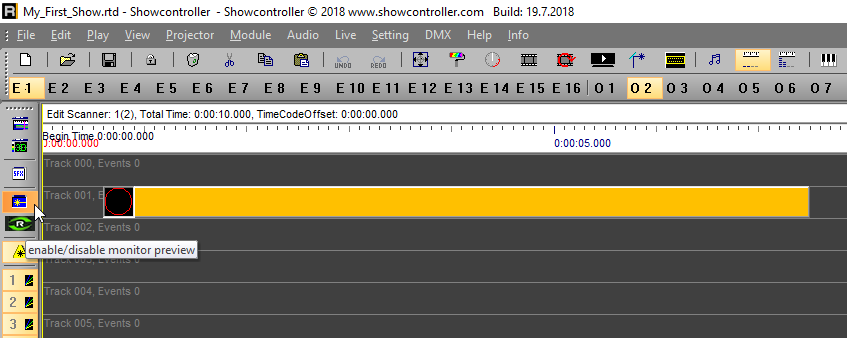
Click the black play icon in the bottom tool bar, and the timeline plays. As soon as the cursor reches the Trickfilm Event on the timeline, it is played pack and displayed in the preview window: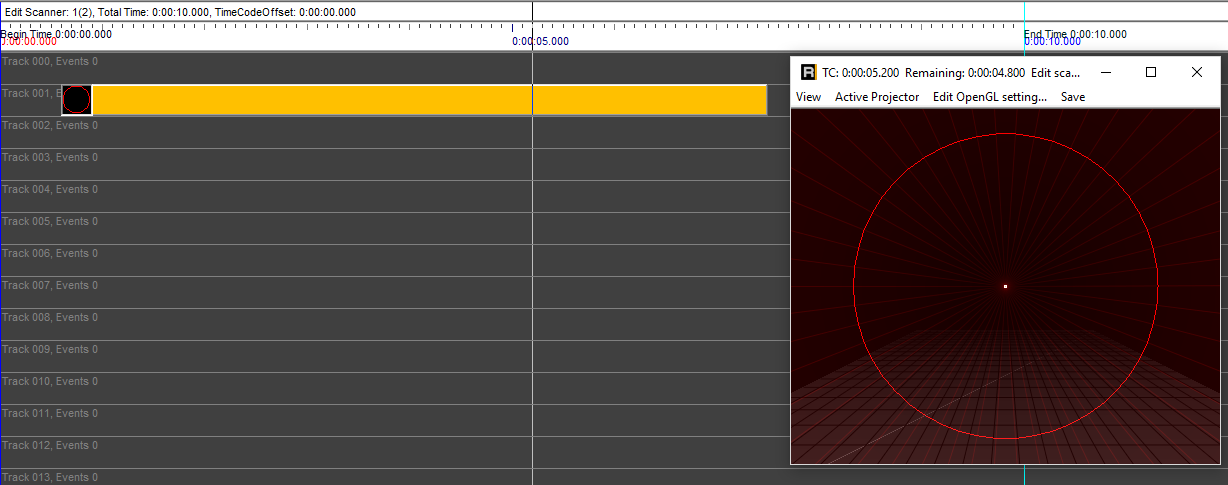
The Temporary Buffer is an easy way for getting laser frames to the timeline. If a frame shall be used more often it makes sense to save it a *.pic file. See more on this in section 7.4. PicBrowser
Further proceeding with the animation. The circle shall fade in smoothly and change it's size. Double click an empty area in the timeline. The Effects dialog opens: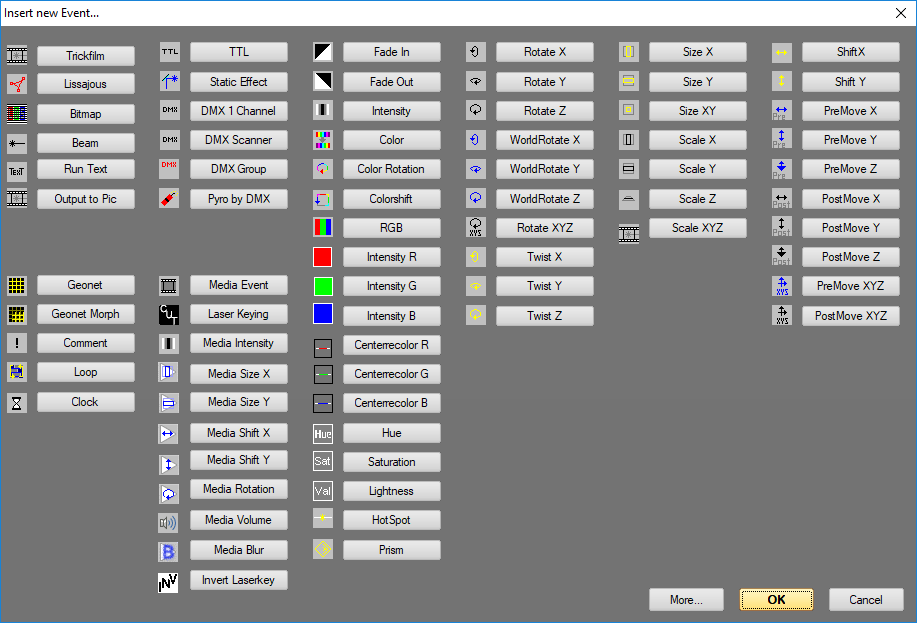
Click on the Event "Fade In" and place the event in the timeline in the track just under the Trickfilm event. Set it to the desired duration.
If the play back has not been stopped in the meantime, the effect of the changes should already be visible in the preview window. With Showcontroller it is possible to program and directly see the results live in the preview window in real time.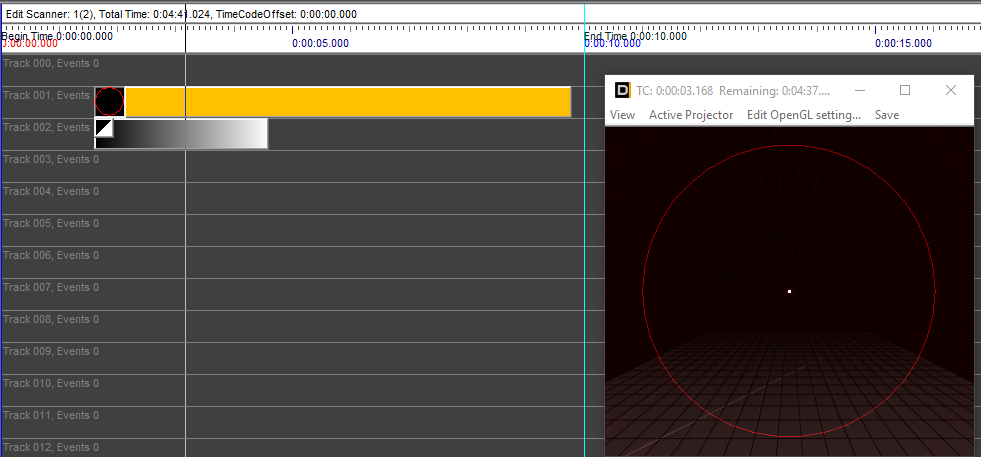
Another double click to an empty area on the timeline to add the event "Size XY". Place this in the track under the fade-in effect. After having placed the Size XY effect, no change is visible in the preview window yet: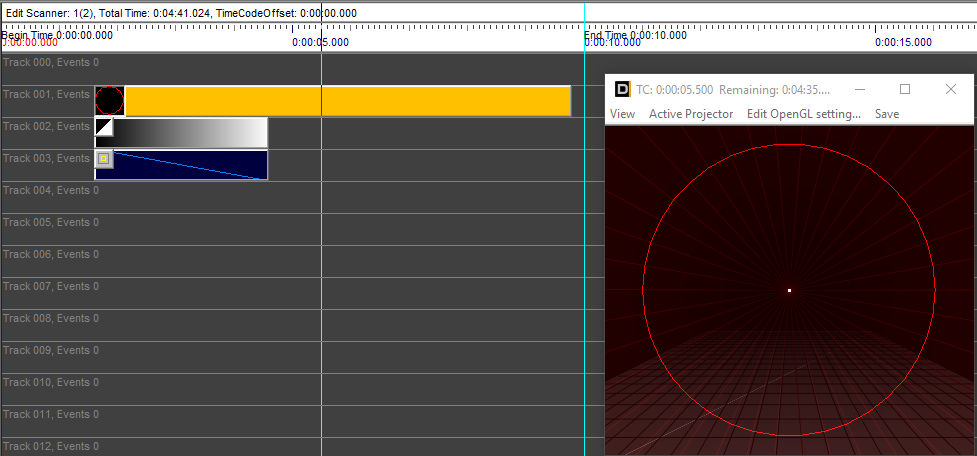
Open the new event with a double click: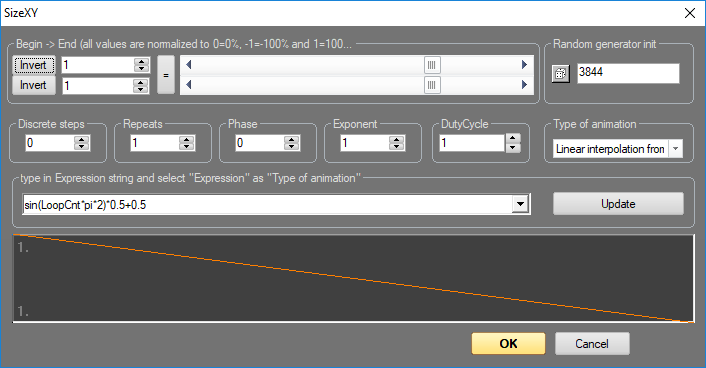
The Animator window shows up, which is used for the configuration of many effects. Both the begin and the end value to the top left are still set to "1". "1" means 100%, "0.5" means 50% etc.Change the begin value to 0.2 and close the window with "OK".
The preview shows how the circle changes its size on fade in.
These were the basics. Further details on ralTime, the timeline, different effects and events as well as a detailed explanation of the Pic editor can be found in the previous chapters of this manual.
Select your language