")
")
")
Color gradients can be created with a special dialog and can be applied to a frame. These gradients can be custom made in the dialog, but it ia also possible to load external BMP files as source.
Draw a helix: double click on the Spiral Tool, set values to 80 points and 6 turns: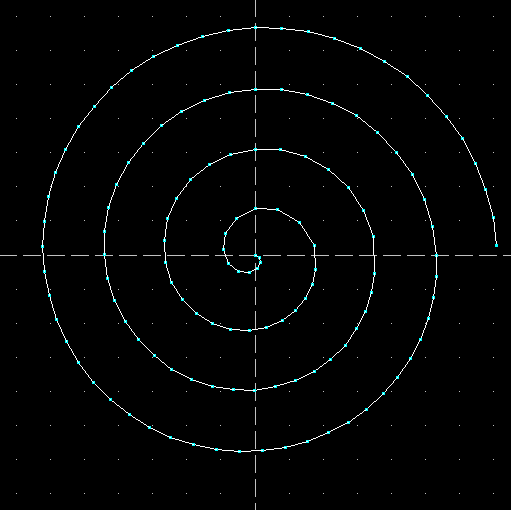
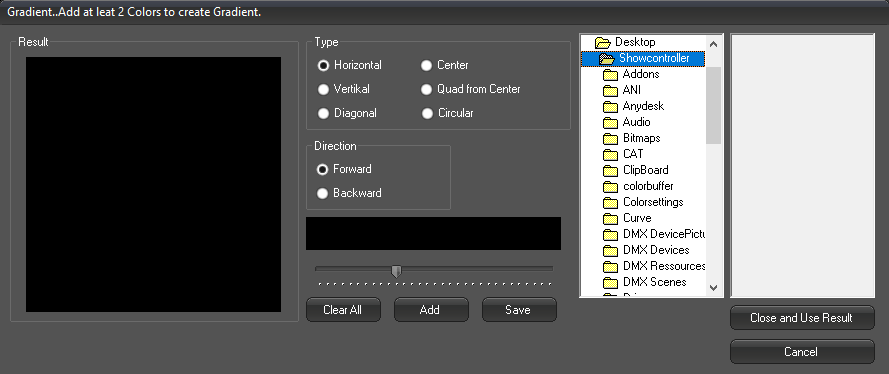
There are three icons in the upper toolbar:
The first one opens the dialog to create a color gradient. The second one enables or disables the created gradient as background image.
A click on the third icon maps the colors of the graient to the actual points in the laser frame.
Click the first button to open the dialog:
Click on "Add" and the option to set the colors appears. E.g. select yellow and confirm with OK.
Click "Add" another time and add black. Confirm again with OK.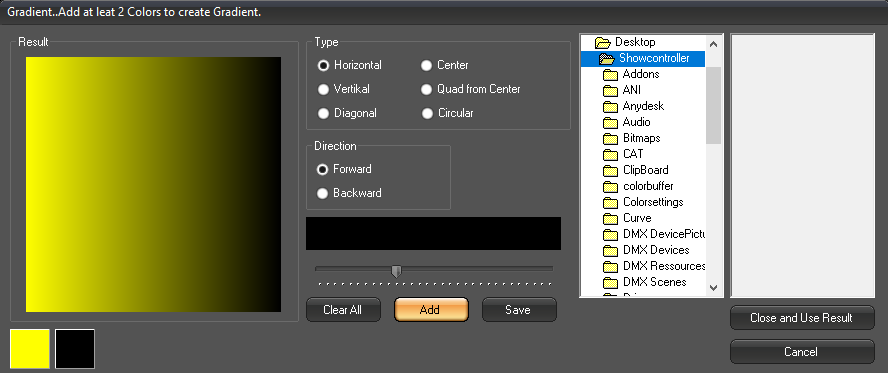
A color gradient from yellow to black is displayed. Further gradient types can be selected in the "Type" area.
"Direction" specifies the direction of the gradient, the fader changes the position of the transition. Color gradient created that way can be saved in the menu "File".
Click on "Close and use Result".
The PicEditor then kooks this way: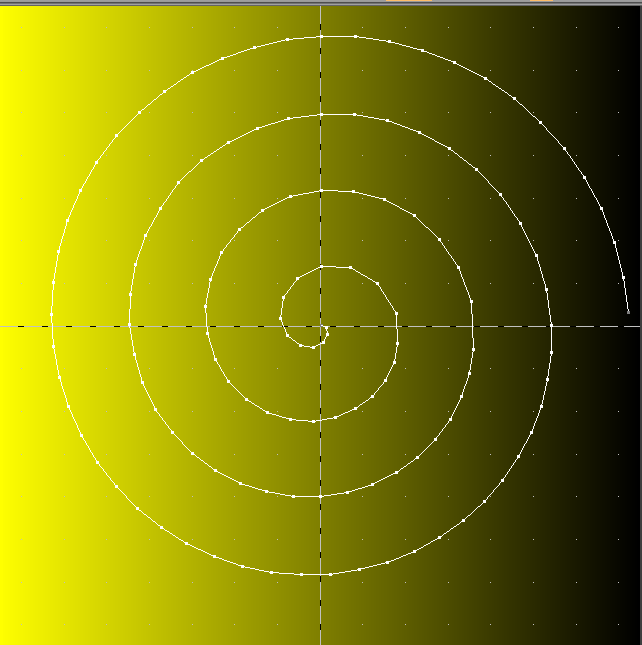
Click on "Map" to assign the background color to the points. The result is visible in the Preview window.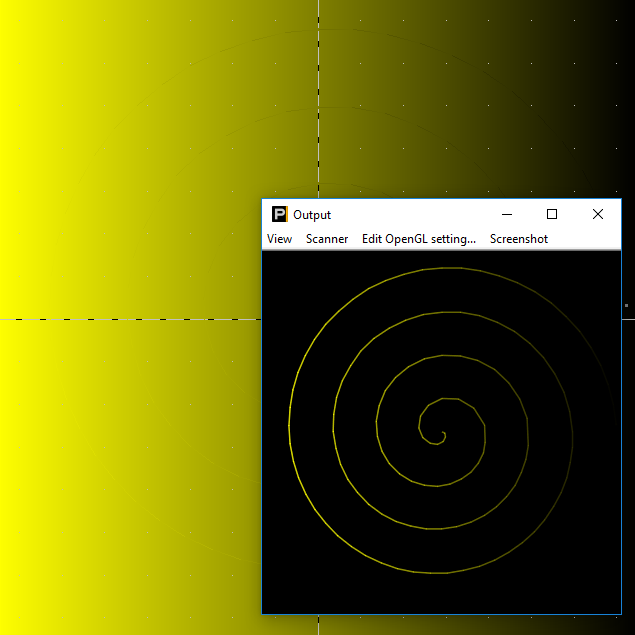
It's important to consider that color changes are related to points, so the change always happens between 2 points. Thus a square needs to be interpolated first (function "Transform" -> "Interpolate") to add additional supporting points.