")
")
")
Blender is a free 3D tool. Due to the huge number of features it is not that easy to use. However, it provides several very mighty possibilities to create 3D animations and frames that can easily be imported to Shwocontroller.
To create laser frames from Blender, it is suggested to use the Freestyler SVG Export extension. Thus it is possible to create single frames or animations as SVG files. Those files can then be imported to laser frames with the SVG Converter of Showcontroller, which dan be used in Trickfilm events.
The necessary script file that also exports colors has been developed by Thomas Beck of the Blender Foundation.
First activate the script in Blender.
Start Blender and switch to the settings via menu "File" -> "User Preferences"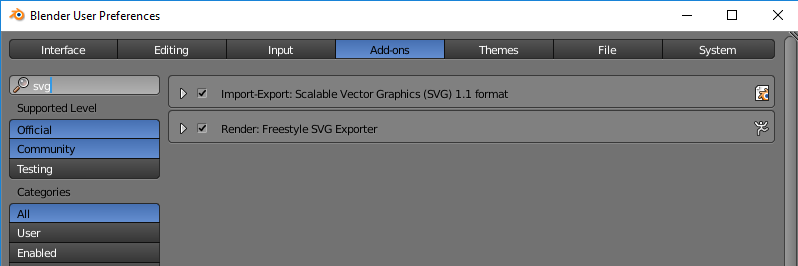
Switch to the tab "Add-ons" and search for "svg". Select the result "Render: Freestyle SVG Exporter".
Some important settings in Blender to make the export/import work:
Render ettings:
Set the resolution to a value in 1:1 relation. The higher, the better, but the rendering takes longer.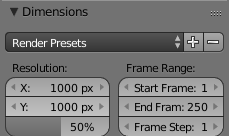
Activate Freestyle and Freestyle SVG Export.
It's also specified here if a single frame or a complete animation (=several single frames) should be created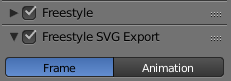
Some example settings in "Render Layers":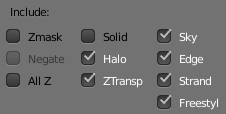
Specify the output directory for the SVG files: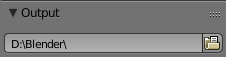
The very "material" color becomes the drawing color: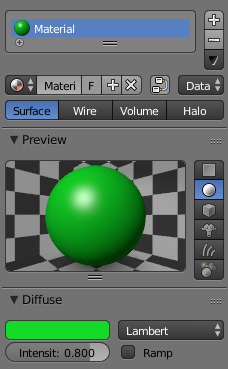
The default shape is a cube. Click F12 to start the rendering and preview the result: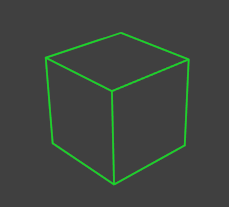
If everything is set correctly save these settings as "Default File". This is very helpful for future exports.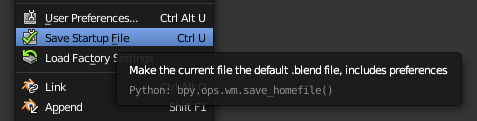
Then start the SVG converter and load the file: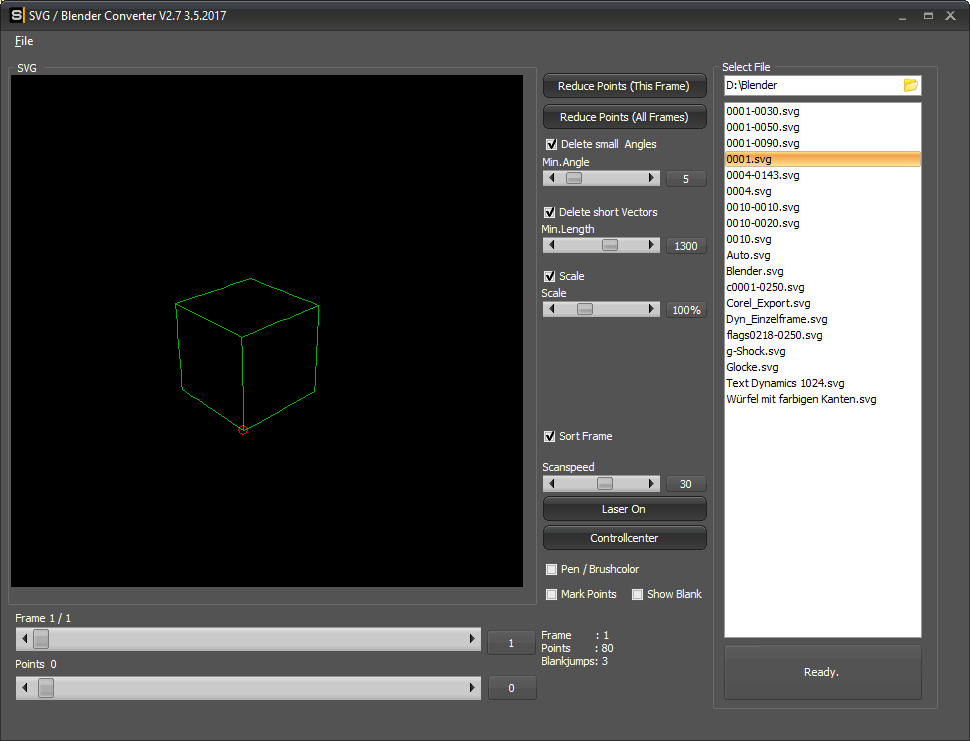
The point reduction and sorting apply now. Try out several settings to find the best result. Save the imported file as Pic or Animation via menu "File".
Even though it is not possible to provide a full, detailed introduction to Blender, this is a short example how to create a 3D text:
Delete the cube from the startup file.
Click on "Create" -> "Text" on the left side.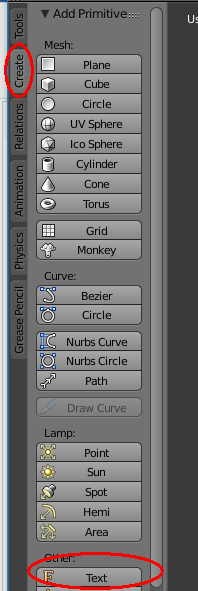
Move the text to the center and hit the tabulator key to switch from the object mode to the edit mode.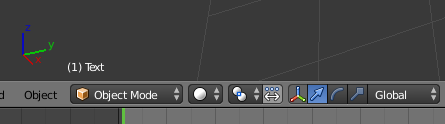
--->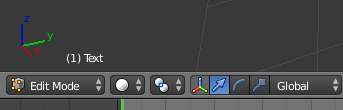
The text can be edited then...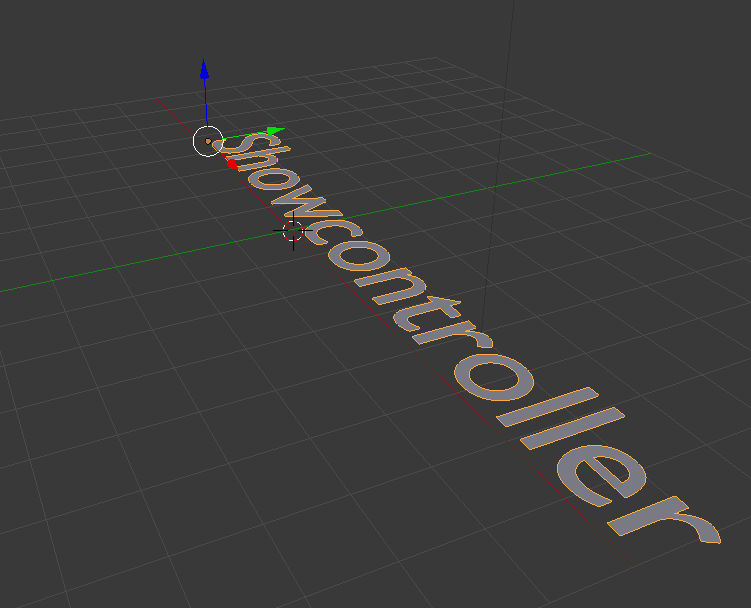
Switch to the object settings on the right and adjust size / rotation as desired: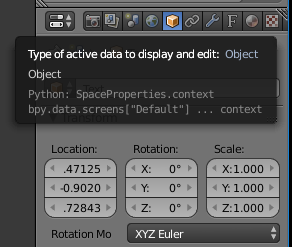
Adjust the extrude value in the text mode:
this is the result ...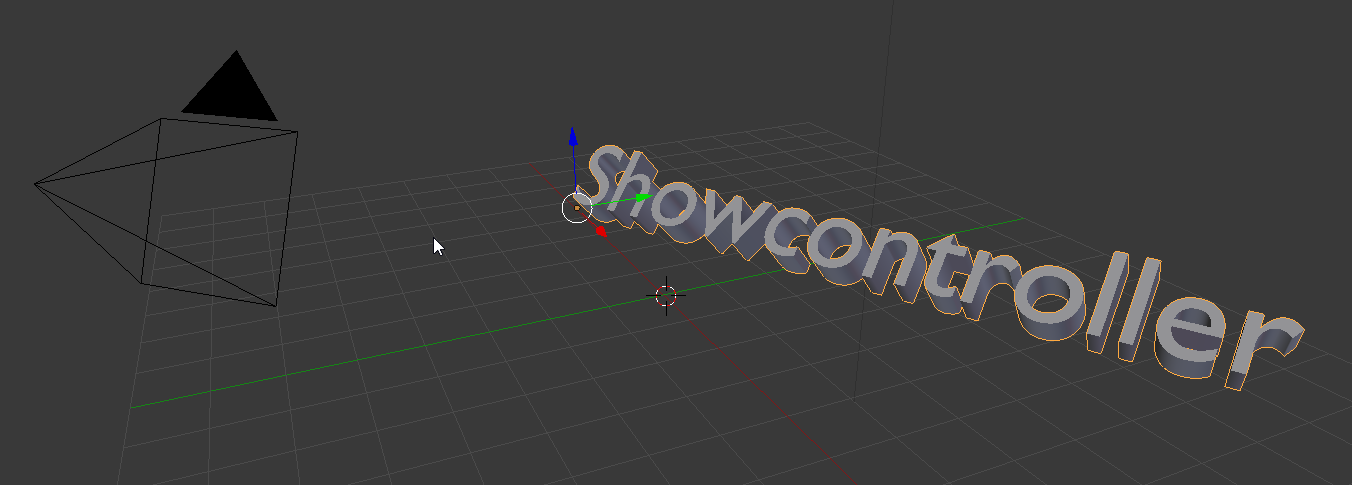
Add some color ...
Switch to the material tab, click on "New" and adjust the color: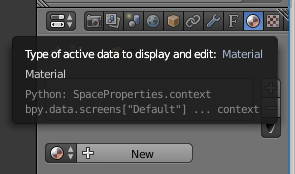
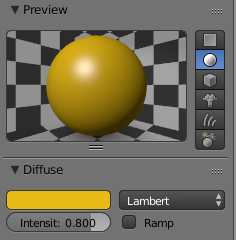
Result: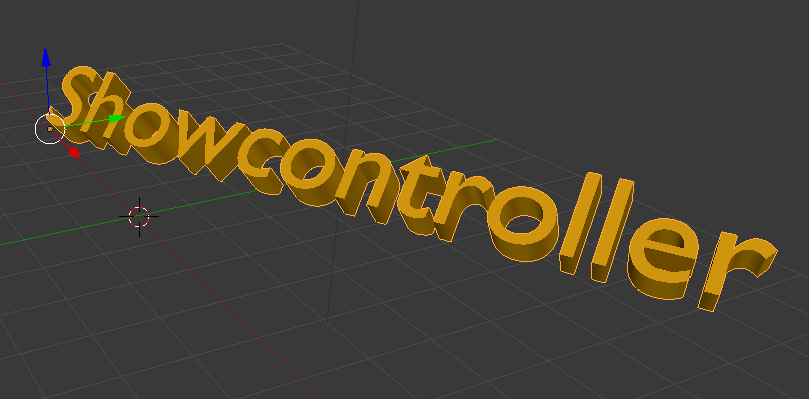
Press "F12" to see the rendering result. Adjust position,. rotation and size to the desired values.
If the rendering result looks like this: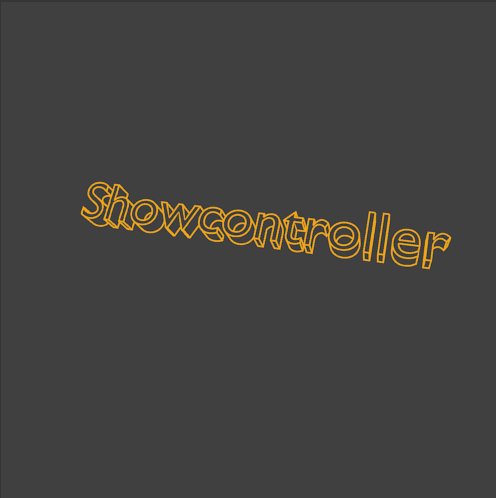
a suitable SVG file has already been created. Swicth back to the Showcontroller SVG converter: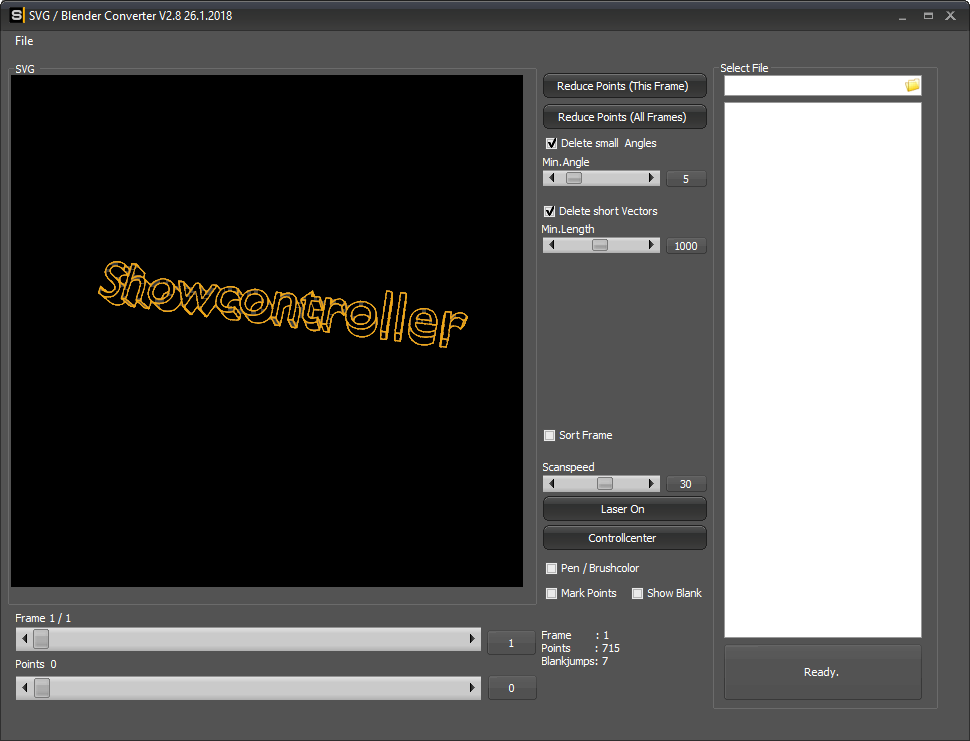
Optimize with "Reduce Points" and the result is fine.
Select your language